The field practice of “topping” a pole can be modeled successfully in O-Calc Pro. When a pole is “topped”, a portion of the top of the pole is cut off. This could be for a number of reasons, like pole tip deterioration, or the desire to use a heftier class pole that isn’t necessarily very tall. By topping a pole, the field technician ends up with a pole with a larger tip diameter.
In O-Calc, if a user were to just use a shorter pole instead of using the topping method, the user would not be modeling the reduced taper correctly.
To begin, open the pole that you wish to “top”. This can be any variety pole, but this article uses a wood pole as an example. In this example, a 50 ft Class 2 pole is being used.
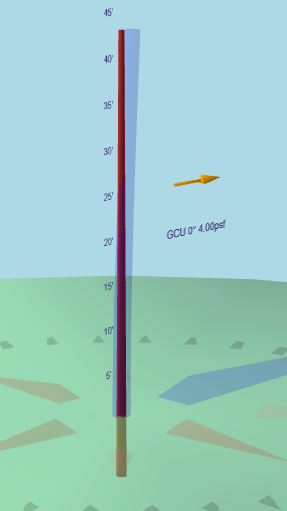
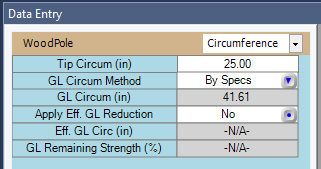
To begin, I can verify the circumference values for the pole. For instance, the tip circumference of a 50ft Class 2 Southern Pine pole is automatically populated as 25 inches.
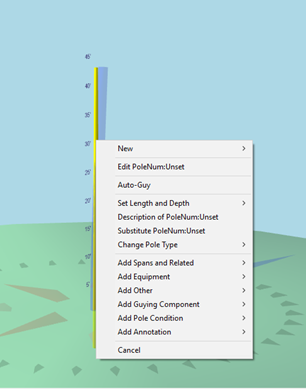
Next, right-click on the pole, either in the inventory list or in the 3D View tab. From the menu that appears, select the Set Length and Depth option.
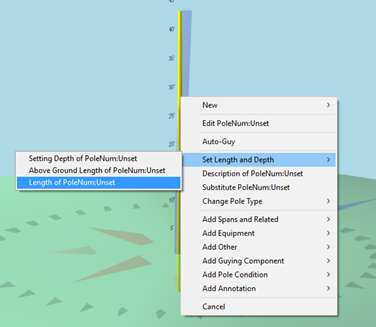
From the sub-menu, select the option Length of Pole.
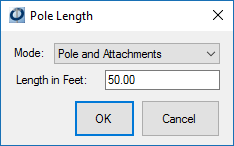
This will open a Pole Length pop-up window. Here, you may select a Mode, which is either to modify the Pole, or modify the Pole and Attachments. Then, a length in feet may be entered.
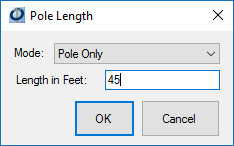
For Topping this pole, I am selecting only the pole, and I am removing 5 feet from the top of the pole. So, my Pole Length window should look like this:
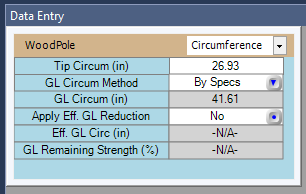
To verify that this change took place, I can check my new Tip Circumference value by selecting my pole, and in the Data Entry panel, going to the Circumference Filter. Here, I can see that my Tip Circumference updated to 26.93 inches.
This method can be used to “top” any type of pole.