When the Pole Catalog Creator plugin is activated, users have three options for performing pole catalog creation tasks. To use the plugin first go to Options > Manage Plugins and check the box for the Pole Catalog Creator option to activate the plugin. Follow the instructions below to learn how to use each of the three options.
- Create Poles Catalog from CSV
- Create Template CSV
- Save Existing Poles Catalog to CSV
Note: The ‘Create Poles Catalog from CSV’ option only applies to manufactured poles which excludes wooden poles.
- Follow these instructions to use the Create Poles Catalog from CSV option.
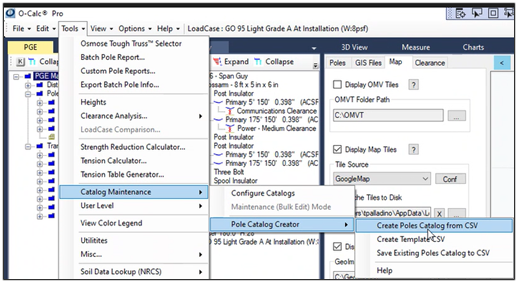
Go to: Tools > Catalog Maintenance > Pole Catalog Creator > Create Poles Catalog from CSV. The ‘Create Poles Catalog from CSV’ option looks for a .csv file extension to load.
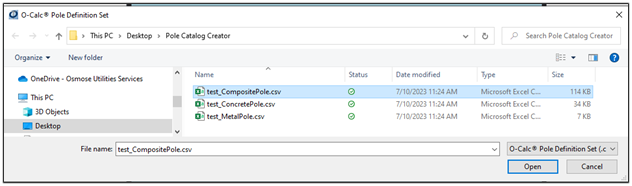
Next, select a .csv for a Pole Definition Set. Click the Open button.
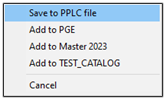
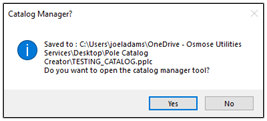
Next step, select the Save to PPLC file or add to existing catalogs already present and displayed within the list.
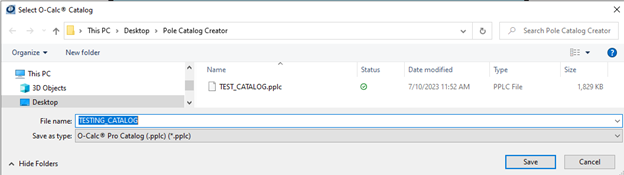
Selecting Yes in this dialog will take the user directly to the Catalog Configuration. Click the Save button.
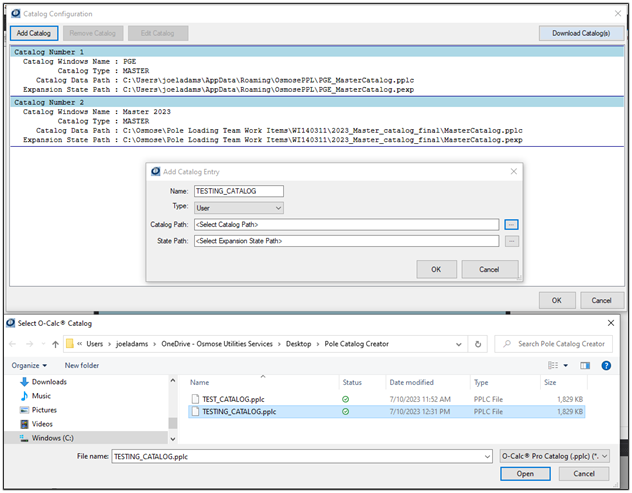
The new catalog can now be added by selecting the Add Catalog button from Tools > Catalog Maintenance > Configure Catalogs. In the Catalog Configuration window, enter a Name for the catalog.
Select the Type (User or Master) option. A user catalog will have yellow folders and those can be edited. A master catalog will have blue folders which cannot be edited. While in the creation process, you will want to select the User (yellow folders) type catalog, which can be edited.
Next, select the Catalog Path by clicking on the ellipses button (3 dots) to navigate to the desired file location. The State Path is automatically populated once the catalog path is selected. Click OK.
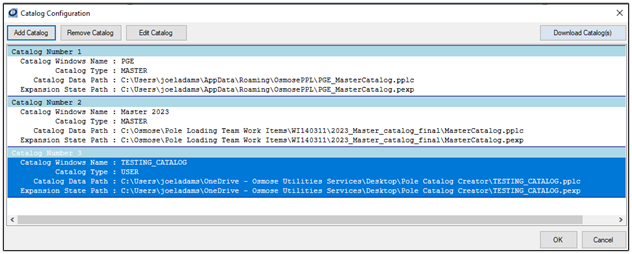
In the Catalog Configuration window, the new TESTING_CATALOG has been added. Next step is to click OK.
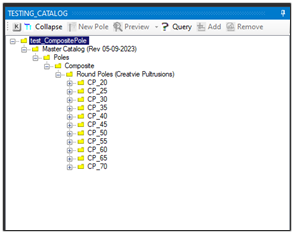
The newly added ‘test_CompositePole‘ catalog is selected and displayed in O-Calc Pro:
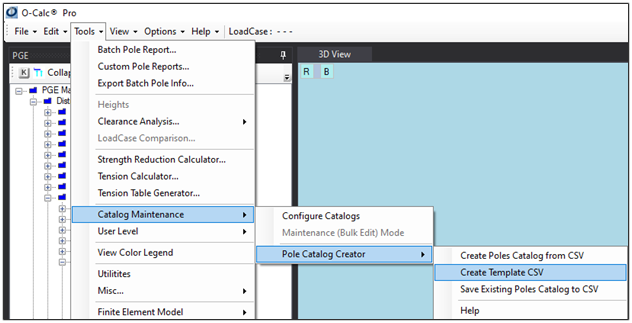
2. Follow these instructions to use the Create Template CSV option:
Go to Tools > Catalog Maintenance >Pole Catalog Creator >Create Template CSV.
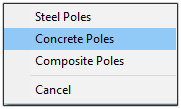
Select from the displayed pole template options:
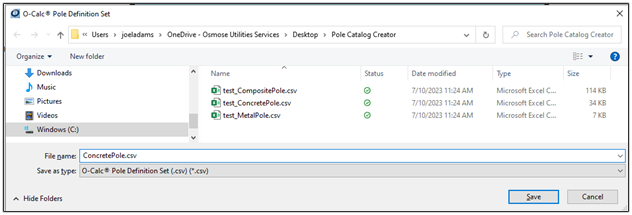
Next, save the .csv template in the Pole Definition Set window:
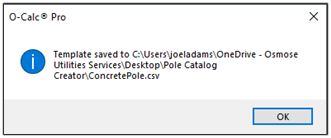
See the Template saved to confirmation and location message:

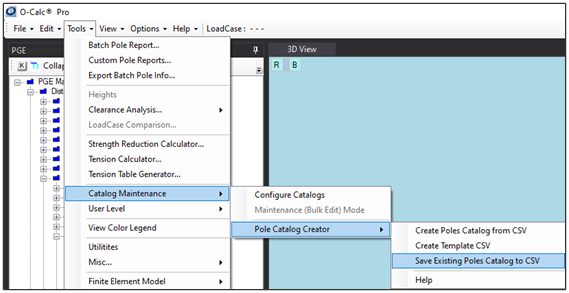
3. Follow these instructions to use the Save Existing Poles Catalog to CSV option:
Go to Tools > Catalog Maintenance >Pole Catalog Creator >Save Existing Poles Catalog to CSV:
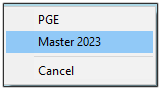
Select the catalog you wish to save:
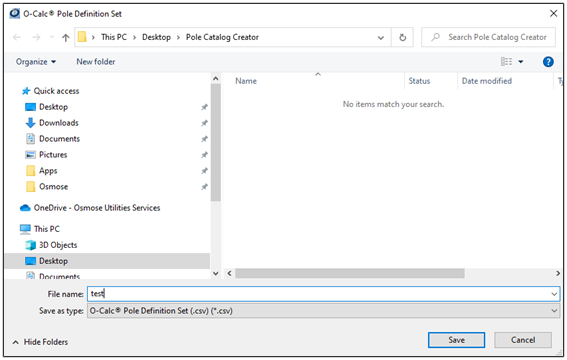
Next step, Name the catalog file and click Save:
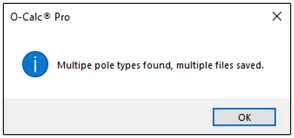
The saved confirmation message below appears, and the file is now saved:

Recent Comments