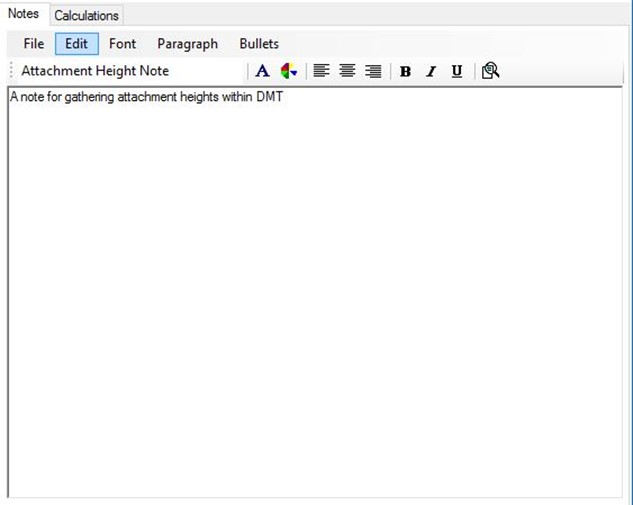
In a previous post, some of the advanced features of Notes were discussed. One additional note feature is that they can be utilized with images of a pole, within the ‘Measure’ tab in O-Calc Pro. It is possible to add a Calculation style note to an item, for example, and create some labeled values. A user can begin by adding a note to the pole, and typing a basic description of what this note will do. The note must be placed on the pole.
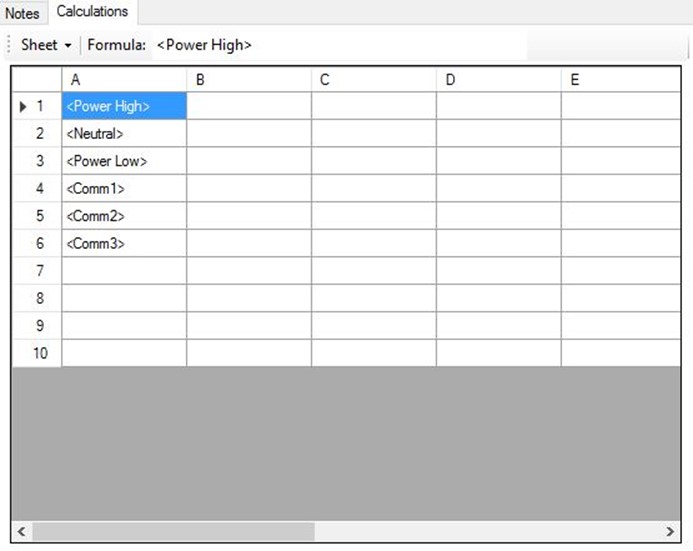
Then, under the ‘Calculations’ Tab, a user can type in a series of values to be collected. These values can be called whatever the user would like, but they must be enclosed in chevrons (<>) for the purpose of capturing height.
Then, in a calibrated image in the ‘Measure’ window, a user can collect height measurements and populate the note. Begin by selecting the note item in the inventory. Then, in a calibrated photo, click a point on the pole where you would like to take a measurement.
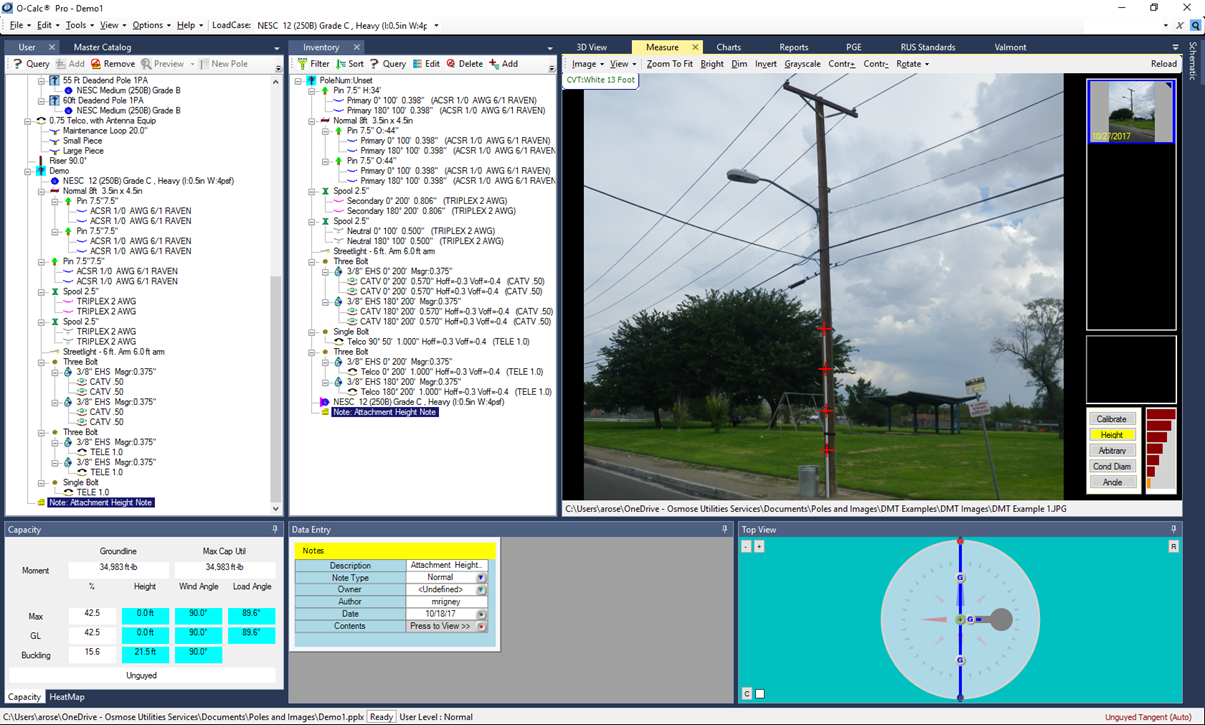
Figure 1. Calibrated Image and Selected Note
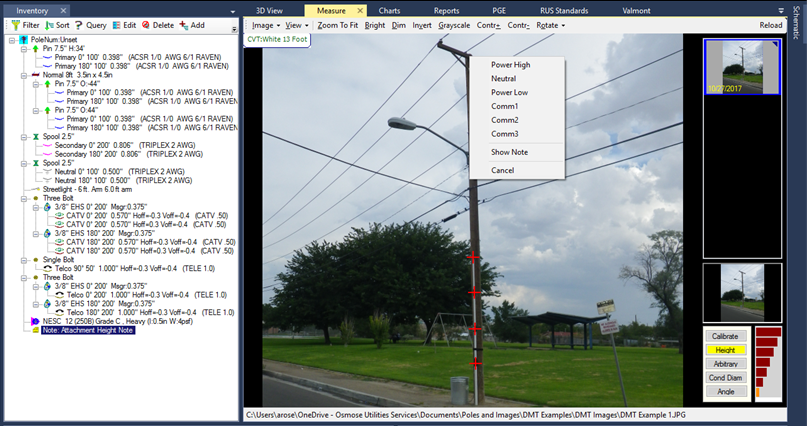
Figure 2. Height options Available when left-clicking on Pole
When you have the note selected and left-click at a point on the pole, it will prompt you to select one of the values entered on the note’s calculations tab. Selecting a value will populate the height for that value on the pole, based on the height calculated by the DMT process. When each height is collected, viewing the note will show each value measured. Also, it is possible to view your collected heights by clicking on the image, and selecting “Show Note”.
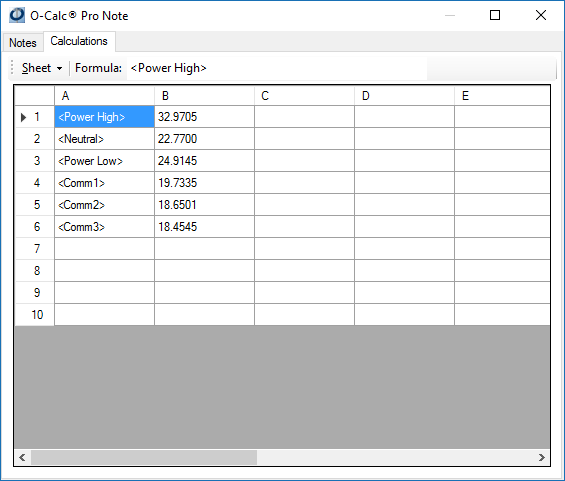
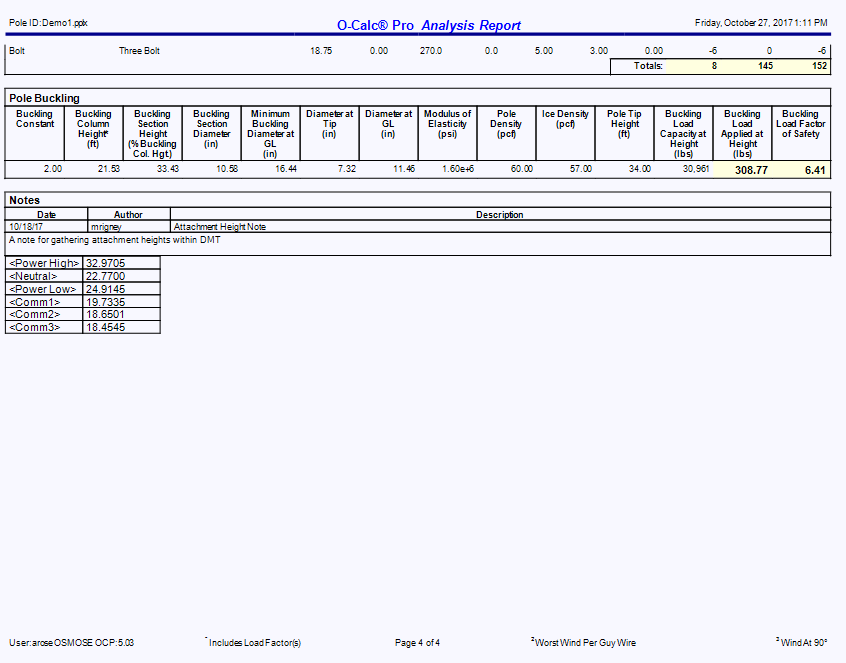
These values can be used to manually enter the attachment height for different components on your pole. Additionally, it is possible to include these values in your Analysis Report. By running the analysis report with the calculations table populated, the final page of the Analysis Report will automatically display these values.
Recent Comments